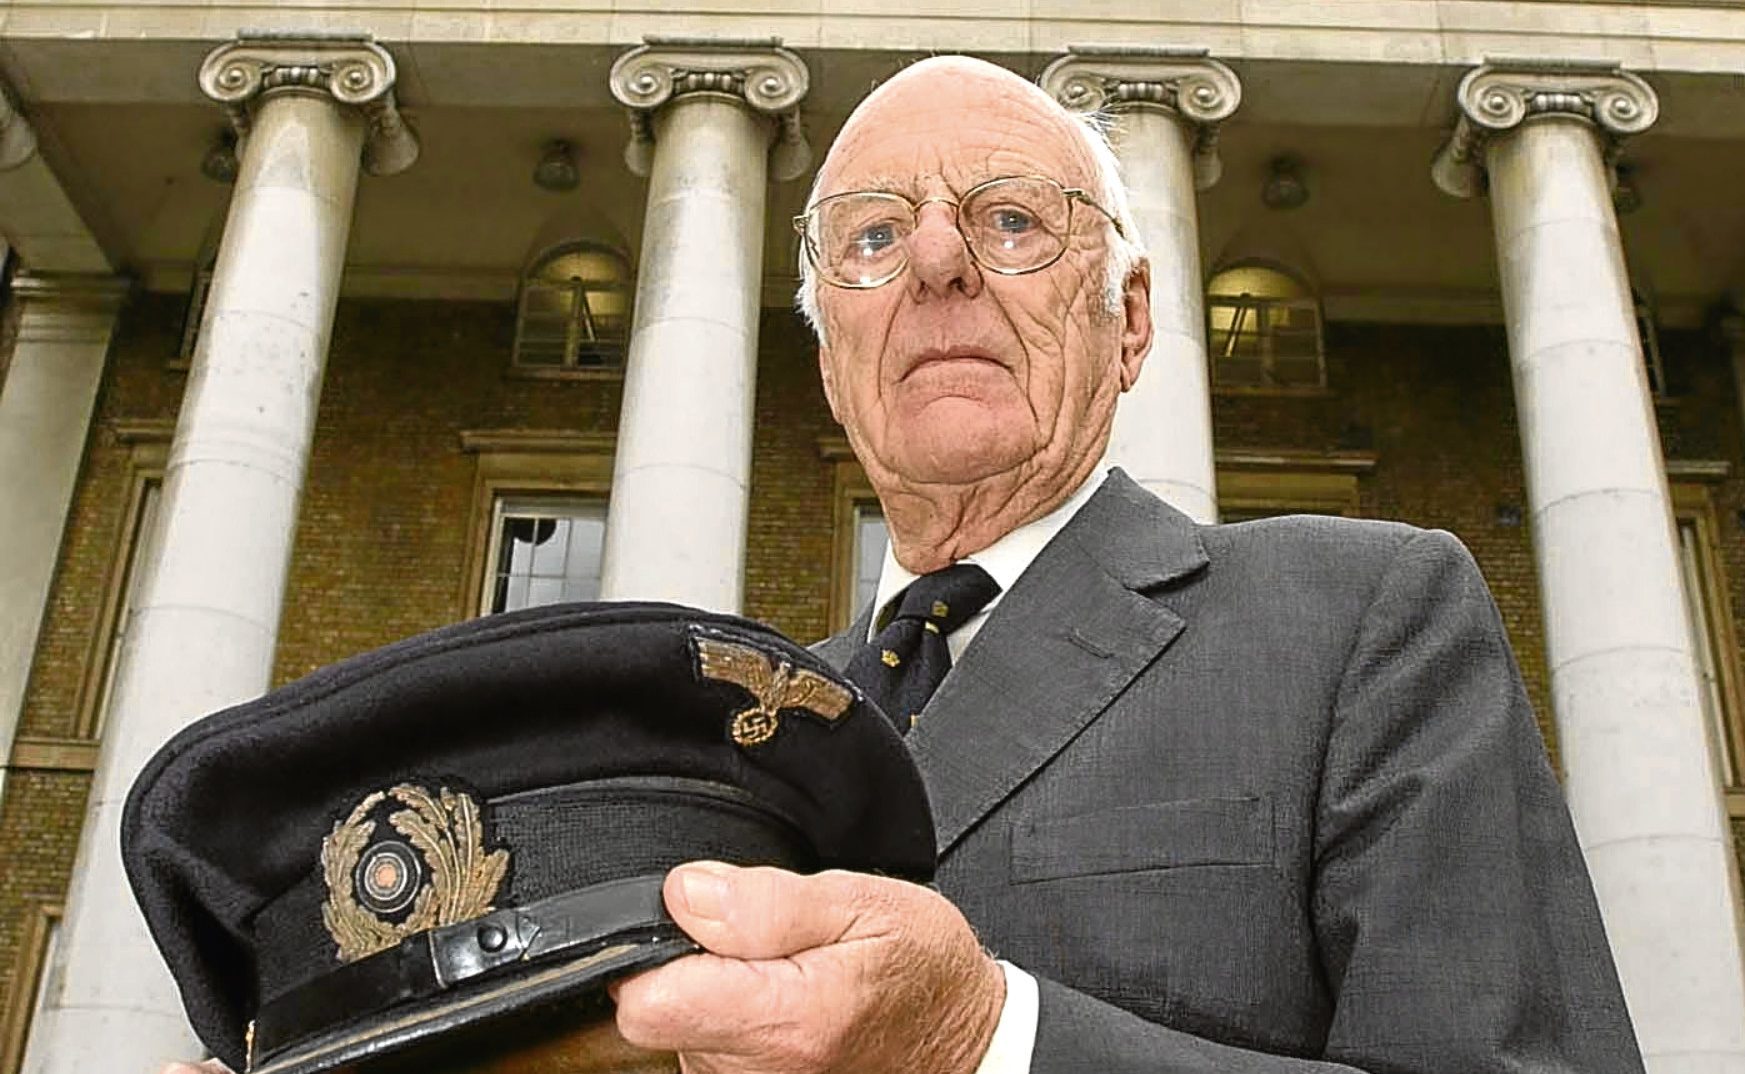
HE was the young lad who took on a German U-boat in a mission that would’ve made James Bond proud — but we are only now learning all about David Balme.
It would be three decades after the Second World War, in 1972 and 1974, that two books finally revealed the amazing tales of how MI5 had secretly controlled all Nazi spies in Britain and of the Bletchley Park codebreaking operations that helped us to victory.
A new book, however, demonstrates the vital part played by David Balme, a very junior officer who boarded a U-boat to get all the coding information he could.
Just out of his teens, Balme and a small group of colleagues rowed to the submarine in a tiny open boat, and their audacious feat altered the route of the war.
Captain Peter Hore, editor of a series of books on the British Navy At War And Peace, explains: “When the wider secret of Bletchley was revealed and others began to write about it, Balme corresponded with some of the participants in his story, and late in life he made several recordings.”
Balme himself would recall of that incredible day in 1941: “At 12:45, May 9, I left Bulldog in charge of a boarding party to board an enemy submarine which had surfaced. The crew consisted of six seamen, one telegraphist and one stoker.
“We rowed over, only about half a mile to row and I waited in the stern to go alongside, the bowman got out onto the U-boat and held the bow onto the hull of the U-boat.”
Just imagine those Germans, suddenly seeing this young Briton, revolver in hand, joining them unannounced as he climbed down the conning tower!
What Balme was actually confronted with was an eerie silence, with nobody to be found anywhere.
“The lights were still on and everything was lying around just as if one had arrived at someone’s house after breakfast, before they had had time to make beds,” he recalled.
“Coats were thrown around, bunks half-made.
“There was complete silence in the U-boat except for the continual thud of our own depth charges.
“This was a most unpleasant sound, especially when it got closer, as one expected the U-boat to be blown up at any moment.
“One was accustomed to dropping depth charges, but not hearing them, and this caused a most unpleasant sensation. A most unpleasant and frightening noise.”
Balme and his mates spent six hours on the doomed sub.
They ransacked it for every ounce of possible data, every scrap of paper that could possibly hold vital information about the codes.
The team got the U-110’s Kurzsignale code book and her Enigma machine, and even thought they might be able to drag the vessel all the way back to Britain.
U-110 eventually sank, en route to Scapa Flow, but the documents ransacked from her would help the codebreakers at Bletchley Park solve a German hand cipher.
David Balme sadly passed away last January at the age of 95.
Enigma: The Untold Story Of The Secret Capture, by David Balme and edited by Captain Peter Hore, is published by Whittles, ISBN No. 978-184995-226-2.
Enjoy the convenience of having The Sunday Post delivered as a digital ePaper straight to your smartphone, tablet or computer.
Subscribe for only £5.49 a month and enjoy all the benefits of the printed paper as a digital replica.
Subscribe